


How to change a coil in vape tanks and pods
|
|
Time to read 4 min
Our Vaper Level system makes it easier for you to find the right vape products for you. Each product page is tagged with a recommended experience level which is colour coded and easily recognisable. View out full guide to find out what level you are!
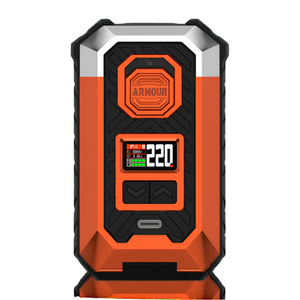
Absolute beginners looking for a simple device to make the switch from smoking.
Moderate experience with vaping, confidence: changing coils and requiring adjustable settings.
Experienced and knowledgeable vapers needing advanced features or rebuildables.
Our advisors are available: Monday-Friday, 8.30AM-5.30PM
Contact Options
Follow @evovapinguk for exclusive offers and updates:
Submit our quick and easy registration form to get started as an Evolution Vaping wholesale customer!


over £20 + Same day dispatch
WITH EVERY PURCHASE
Written by: Christian Jones
|
|
Time to read 4 min
Knowing when to change a coil is vital for a consistent vaping experience. While a weekly change is recommended, high wattages or sweetened e-liquids may mean more frequent replacements are needed. Things to look out for include a burnt taste, bubbling noise, weak flavour, reduced vapor, or leakage. In this guide we will tell you all the essentials for a successful coil change.
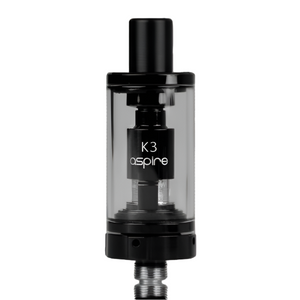
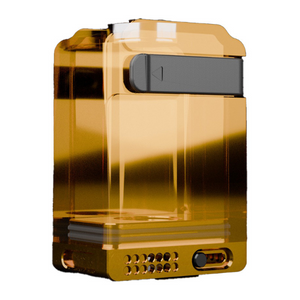
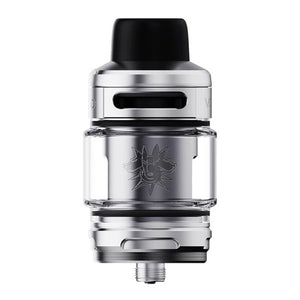
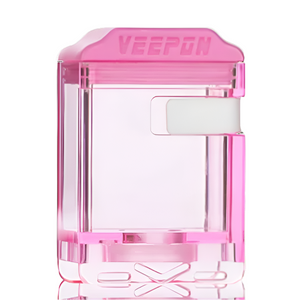
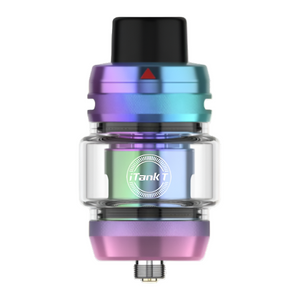
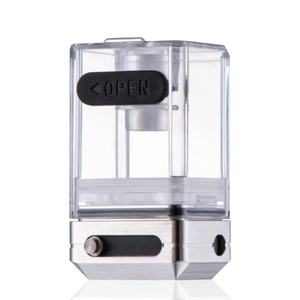
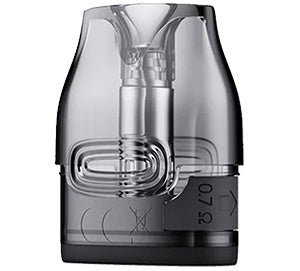
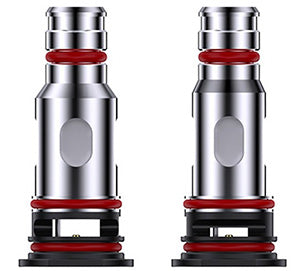
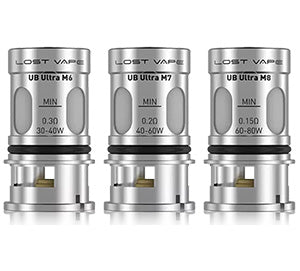
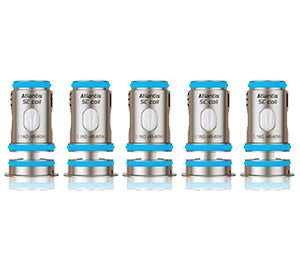
A coil is made up of a wicking material (usually cotton) to absorb the e-liquid and a metal heating element to heat and vaporise the e-liquid. This may be round wire or a mesh.
You may think, ‘wouldn’t the heating element burn the cotton?’, however that will only happen if the cotton or wick is dry. If the cotton is saturated with e-liquid it will be vaporised and your cotton will remain intact. If you don’t keep your wicks damp this can lead to what is known as a ‘dry hit’ or a burnt taste.
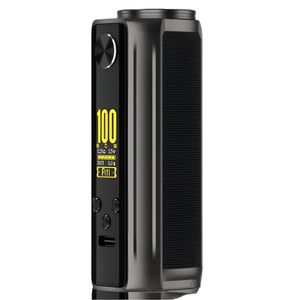
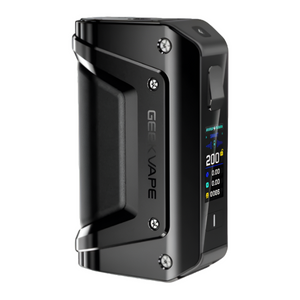
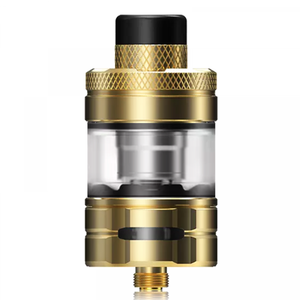
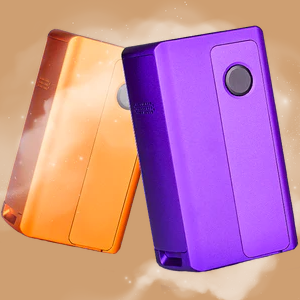
There are different types of coils depending on your vaping style (MTL/DTL) and your device. They also come in various resistances, wire types and even with different wicking materials. The type of coil you need will depend on your device, wattage and even the type of e-liquid you are using.
If you need help choosing the right coil for your device, speak to us on our live web chat where a customer advisor is available 9am-5pm weekdays.
We recommend changing your coil approximately once a week, however if you vape at high wattages or with e-liquids that are high in sweeteners, you may need to change it more often. Knowing when to change a coil depends on various factors, including the type of coil, your vaping habits, and the flavour and vapour production you desire. Here are some common signs indicating it's time to change a vape coil.
Gurgling or Leaking: Coils that are nearing the end of their lifespan may lead to gurgling sounds or leakage. This can occur as a result of a worn-out coil not properly vaporizing the e-liquid.
Resistance Fluctuations: If you have a variable wattage or temperature control device, fluctuations in the resistance reading could indicate an issue with the coil. Inconsistent resistance may suggest the coil is deteriorating.
Visible Signs of Wear: Inspect the coil for any visible signs of wear, such as darkening or buildup of residue. If the coil appears gunky or discolored, it's likely time for a replacement.
Regular Maintenance Schedule: Some vapers prefer to change coils at regular intervals, regardless of apparent issues, as part of routine maintenance to ensure a consistently enjoyable vaping experience.
After following the checklist above you have found that its time to change a coil. Don't panic! our simple steps below will help you change a coil quickly and effectively. You will be vaping again in no time!
Tip: When first using a new coil, use a lower wattage to avoid burning the cotton if it is not yet fully saturated with e-liquid.
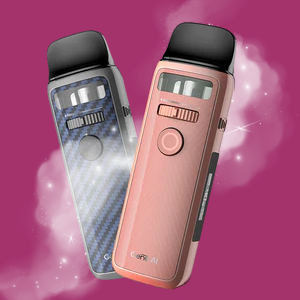
You've followed the checklist above and determined its time to change a coil. If your pod system uses replacement coils these simple steps will help you quickly and properly change the coil. If your pod kit uses pods with fixed coils then only step 4 will apply before installing a new pod.
By now you should be able to change a coil in your vape tank or pod kit with ease. Regular tank and pod maintenance can extend coil life as well as using e-liquids with less sweetener and single flavour vape juices.
Remember that the indicators in our checklist may vary based on factors like the type of e-liquid used, the wattage at which you vape, and the coil material. It's essential to pay attention to your device's performance and make coil changes accordingly for optimal vaping satisfaction.
Need help?


